Thursday, December 18, 2014

Two 'sew' cute cards

Did you ever find a crafting product that you knew you needed to have even though you weren't exactly sure how you'd use it? Well, that's how I felt about the Sewing Edge die when I saw it at a scrapbooking expo back in October. I bought it then, but I didn't have a chance to use it until a couple of weeks ago. I sat down to play with it and ended up making two cards that I loved.

Shabby chic-style card. Sewing accessories die cut from right side of card, dress form die cut and stamped on the left side.
Supplies (all Stampin' Up! unless otherwise noted):
Stamps: Watercolor Minis, Very Versatile
Paper: Crumb Cake, Blushing Bride card stock; First Edition Specialty Designer Series Paper (DSP)
Ink: Soft Suede, Blushing Bride, Regal Rose
Accessories: Sewing Edge die (Tim Holtz Alterations), Dress Up Framelits dies, Banner punch, corner rounder, Bitty Buttons, rhinestones, Mocha adhesive gems (Close to My Heart), Walnut Brown Metallic and Silver 3D Stamp Paint (Viva Decor), sponge daubers, rose embroidery floss (DMC), Essentials Paper-Piercing Pack , paper-piercing tool, Crystal Effects

I don't often make shabby chic-style cards, so this one took awhile to produce. I kept stopping to think about what embellishment I should add or where I should place something. But it was a fun process, so I didn't really mind. I'll just make sure the recipient of this card is someone who really appreciates the time and effort, right?

Photo showing details of the die-cut right edge, with spool shape wrapped with ebroidery floss and other shapes painted with metallic 3D stamp paint.
Now for some details. I started with a standard A2 card base (4-1/4" x 5-1/2") in Crumb Cake and ran it through the Big Shot with the Sewing Edge die, which cut out the shapes from the right edge of the card. Then I used sponge daubers to apply metallic 3D Stamp Paint to the scissors, bobbin and buttons shapes. The paint dries very quickly (within a couple of minutes), and has such a beautiful sparkle. I added embroidery floss to the spool by taping one end to the back, wrapping it around until the spool was full and then using a needle to pull the other end behind the wrapped strands. It's not pictured here, but I also added a rhinestone on the scissors where the screw would be.

Close-up photo showing dress form die cut from newsprint-style paper and stamped with flowers.
I knew I wanted to pair this die with my Dress Up Framelits dies, so I cut the dress form shape out of First Edition Specialty DSP. I used a small two step-flower stamp to add some color. I stamped the first part of the flower with Blushing Bride ink. For the second part of the flower, I inked the stamp with Regal Rose, rolled the edges of the stamp in Soft Suede ink and then stamped the image. I love the vintage look that creates. To enhance that look, I lightly sponged some of the metallic Walnut Brown 3D Stamp Paint on the dress form and around the edges. For a little embellishment, I added a "necklace" of small brown pearls and a tiny clear button tied with embroidery floss. (The button is adhered with Crystal Effects.)

I adhered the dress form to the left side of the card front, pierced a border around the panel and stamped "happy birthday" below it. Confession: I was so worried I was going to stamp the sentiment crooked and ruin the card after all that work. I know I should have pulled out my Stamp-a-ma-jig tool, but I decided to eyeball it. Thankfully I stamped it straight. Whew!

Photo showing the inside of the card with the stamped birthday sentiment and the right side lined with newsprint-style paper.
Inside of the card, I adhered a piece of First Edition DSP to the right side of the card so the die-cut shapes on the front would really stand out. Again I lightly sponged on some 3D Stamp Paint to distress the paper and to give it just a little glimmer. I punched a banner from Blushing Bride card stock, applied Stamp Paint and adhered it to the right edge where there is space between the scissors blade and handle. Finally I rounded the two corners on the right side and stamped my sentiment on the Crumb Cake card stock.

That was actually the second card I made with the Sewing Edge die. I had a little practice with the first card (below), which was simpler but still cute:

Card with die-cut right edge (using the Sewing Edge die) and a dress form on the left side. On the dress form is a dress cut from coordinating patterned paper: red patterned bodice and floral skirt.
Supplies (all Stampin' Up! unless otherwise noted):
Stamps: Create a Cupcake
Paper: Very Vanilla, Early Espresso, Poppy Parade card stock; Everyday Enchantment DSP
Ink: Early Espresso
Accessories: Sewing Edge die (Tim Holtz Alterations), Dress Up Framelits dies, corner rounder, 1/8" Early Espresso taffeta ribbon, pearls, rhinestones, red embroidery floss (DMC), Mono Multi liquid glue, Dimensionals

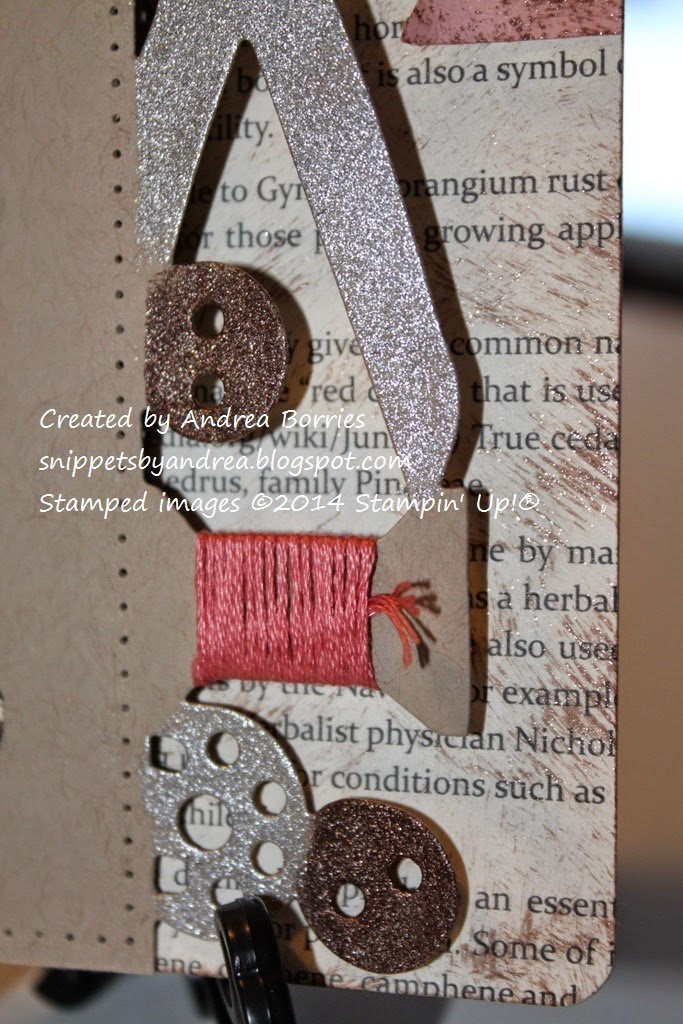
To accent the die cuts on this card, I also cut the shapes out of a piece of Poppy Parade card stock. I cut out the two button shapes and adhered them over the shapes on the card base. I again wound embroidery floss around the spool shape and added a rhinestone to the scissors.

For the left side of the card front, I cut the dress form out of Very Vanilla card stock and adhered it to the card. I cut the dress shape out of two coordinating prints from Everyday Enchantment DSP and then adhered the top part of one of the dresses to the bottom of the other one. I used a piece of narrow ribbon to look like a belt (and to hide the paper edges) and three tiny pearls to look like buttons on the bodice. I adhered the dress over the dress form with Dimensionals.

Photo of the inside of the second card with red patterned paper on the right side and vanilla card stock stamped with a sentiment on the left side.
Inside the card I added a piece of DSP to the right side and rounded the two right corners of the card. I also added a panel of Very Vanilla card stock inside the card so I would have a light-colored base for my sentiment stamp.

If you wanted more room to write or stamp a message inside the card, I think you could start with a longer piece for the card base (for example, 11" x 5-1/2"). Then you could score and fold the right side in at 2-1/2" and the left side at 4-1/4". That would give you an extra flap inside the card; the "outside" of the flap would be the background for the die-cut shapes, and when you opened the flap, there would be plenty of space to write.

So which version do you prefer: the vintage card with the shabby chic dress form card or the cleaner card with the multi-patterned dress? Thanks for stopping by!

No comments: