I have a friend who has made gifty advent calendars for her family for several years. It always seems like fun, so this year I decided to try making a couple, too.
To make the base of the calendar, I used 2" x 2" square boxes. I ordered a pack of 50 boxes online, so I was able to make two calendars. I assembled each box (folding it on the scored lines) and used Scor-Tape to adhere groups of four boxes into columns. Then I glued six columns together to make a large "box" of 24 small boxes.
The package of 50 boxes also came with a little tag and a piece of twine for each box. I saved the twine for other projects, but I used the tags to number the boxes. I stamped the numbers 1 through 24 on some of the tags and then backed each one with a colored circle I punched out of red or green card stock.
To make the calendar more stable, I wrapped ribbon all around the outside and glued a piece of card stock to the bottom.
With the calendars assembled, I was on to the fun part of filling them. It was also a bit of a challenge -- the items obviously needed to be small, and I didn't want to go overboard with the cost. I decided to include a little Christmas message -- a silly joke, a quote, or an activity (e.g., make paper snowflakes, go for a drive to look at Christmas lights, etc.) -- for each day. I put a bit of festive paper shreds in each box, added the gift or treat, and put the message on top.
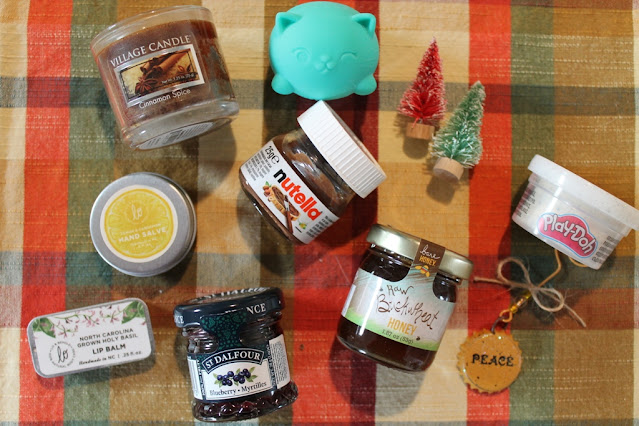
Below are photos of some of the items I included in the calendars.
These are items I made with things already in my craft stash. The flowers are glued on to office-type silver magnetic clips. The circle bookmarks open and have thin magnets inside so they don't fall out of your book. The rectangles at the bottom are pads of little Post-It Notes. I just used scraps of patterned card stock to make covers and some elastic thread and a flower for a closure. The miniature embroidery hoops are so fun. I considered actually stitching something for inside, but I didn't have time for that. Instead I used patterned paper that looks like stitching or quilting and just added a tiny button and bow in the middle.
These are some of the items I purchased or already had. I also included tea sachets, shower steamers (little discs of aromatherapy powder that dissolve in the shower), a little heart trinket that made a pretty chiming sound, and of course chocolates. For each calendar I did four days that included two chocolates, and they were different brands/flavors each of those days.


2 comments:
Oh wow! The calendars are great! I love the idea of making them but don't think I would have the patience like you do!
I can see why you want the calendar back! I love all the tiny things you put inside each box, I was wondering what you would put in there! Fabulous job Andrea - you can have a break now! Sit down and put your feet up and enjoy a cuppa! Thanks for sharing these!
Hugs from Sunshine x
Thanks, Sunshine! I want to collect things for next Christmas's calendars all year. Then getting them together should be quick and easy. :)
Post a Comment