Over the weekend I wanted to do something crafty, but I wasn’t in the mood to make cards. I know some crafters use those days to make a stack of ink-blended backgrounds, die cut a bunch of sentiments, or other tasks like that. Those ideas have never really worked for me, so instead I gathered a few supplies and did some art in my backyard.

Here are the supplies I used: two small pieces of watercolor paper, two Micron pens, a paintbrush, a container of water (I love the empty containers from Talenti gelato because they are clear and have a screw-on lid), a travel card of paint samples from Beam Paints, and a plastic mat.
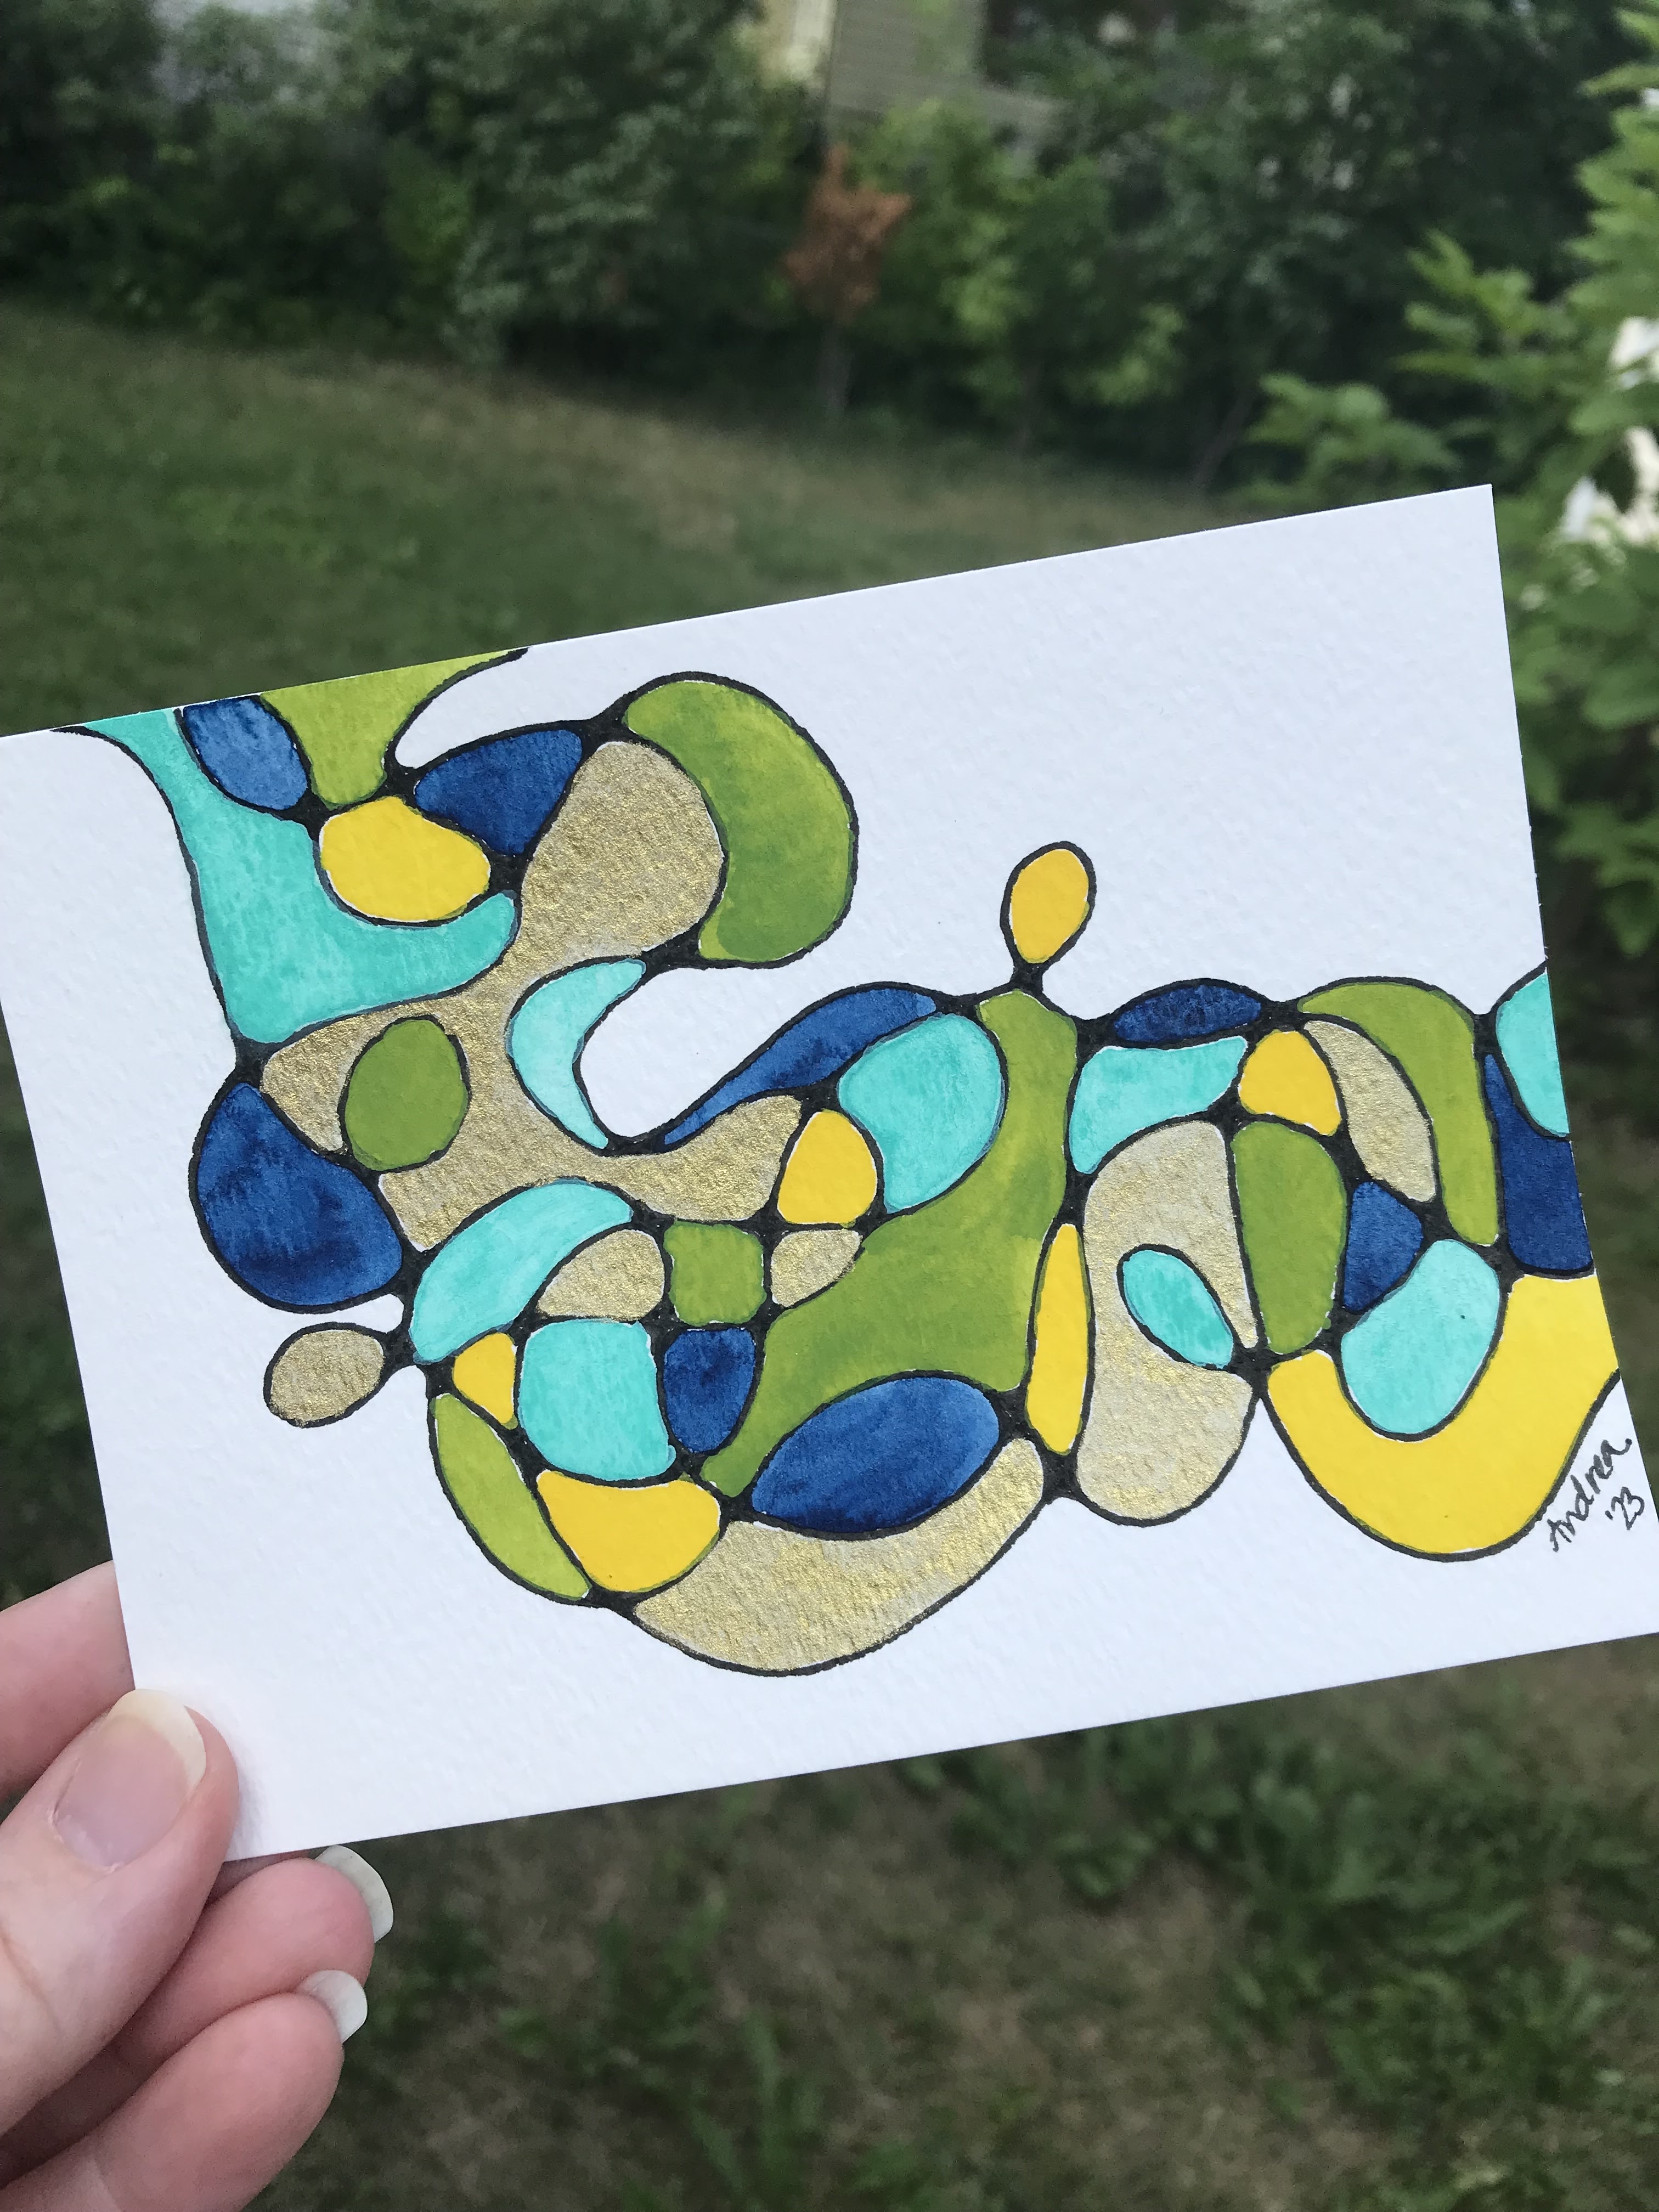
I was inspired by an artist named Andrea Nelson. She has wonderful videos of fun, doable art projects for all ages, and I highly recommend checking her out on Instagram or YouTube. For my projects, I used a Micron pen to make squiggly lines across each piece of watercolor paper. Then I used another Micron pen with a slightly smaller tip to round off each place where the lines intersected. (The photo above shows the pieces at this stage.) You could use Sharpie markers or other pens instead; you just want to make sure that the ink is waterproof if you plan to add watercolor paint.

The next step was to add paint. For one of the pieces I decided to make a rainbow with the colors blending into each other across the squiggly lines. For the second piece I used a limited color palette (four colors and gold) and just filled in the different sections created by the lines.

Once I was done painting I wanted to add more detail to the rainbow card. I used the Micron pen with the smaller tip and filled all the white space on the paper with little circles. My hand definitely got tired, but having to concentrate on all those circles did help block out all the other random thoughts in my brain.
I decided to turn this piece into a postcard and send it to my local art supply store, Wet Paint, for their annual Summer Postcard Program. This is the third year I’ve sent in postcards for this program, and it’s a fun, low-key project for the summer. To turn this into a postcard I just added a few lines on the back: one vertical line in the middle and a few horizontal lines on the right side to write the address. I also sprayed a light coat of sealant on the front so the paint wouldn’t run if the card got wet in the mail.

2 comments:
Oh wow, I love your postcard! What a fun idea, and I am sure your local art store will love and appreciate it too! I can see why your hand got tired after drawing all those tiny circles! When I get stuck for ideas I often just make a bookmark rather than a card. Of course, that idea doesn't always work! Or I might decorate an envelope. If all else fails, I just don't stamp anything until I get inspired, which is why I end up spending so much time on the internet looking at others creations!
Have fun:-)
Sunshine.
Thanks, Sunshine! I've been thinking about making bookmarks lately. Maybe I'll have to make some for the holidays this year.
Post a Comment