Monday, January 29, 2024

Gel print session

Well I started out the month doing pretty well with my blog posts and then I completely lost my momentum. I've been working on some crafty projects, but I don't have too much ready to share yet. So for tonight it's a short post with a couple of pictures from my last gel printing session.


During my winter break I set aside one day to do gel printing. I cleared as much as I could off my work tables (so I had a lot of flat space to set prints for drying), set out my supplies, and got started. Above is a picture early in the day, and below is a shot after I finished all the prints.


For my prints I use packs of gel print paper from Taylored Expressions. There are 50 sheets in a pack, and I usually use a whole pack each session; since everything is set up, I just keep printing. Then I have plenty of prints for card backgrounds, collages, and any other projects.

Thanks for stopping by -- and I hope to be back soon with some cards!

Saturday, January 13, 2024

January Christmas cards: outline stickers

After Christmas I used some of my time off work to make cards with a bunch of kits I had in my craft room. One of the kits was designed for Christmas cards, but I didn't like the suggested layouts, so I used some of the supplies to create my own designs.

One of the main components of the kit was gold outline stickers. I chose to use the sheets with stars and snowflakes for my cards, and I tucked away the other two sticker sheets to use on the envelopes next Christmas. Starting with the largest star stickers, I adhered them to different shades of blue card stock (also from the kit) and carefully cut them out. I did the same for the medium and small stars. For the snowflakes I adhered the stickers to the blue card stock and then punched them out with circle punches (3/4", 1" and 1-1/4"). I had enough pieces for four cards of each style.

For the card bases I embossed a large script word using gold sparkle embossing powder in the lower right corner of a panel of white card stock. I splattered gold shimmer paint on the panels and then added the blue stars/snowflakes with foam tape. I placed more stickers directly on the panels, added a dark blue brad in the upper left corner, and finished the sentiments with a sentiment strip. I attached the panels to layers of gold card stock and then adhered them to white card bases.

I still had more snowflake and star stickers left, so I included some inside the cards as well. I have to admit that I didn't have high expectations for these cards when I started, but I'm really pleased with the way they turned out. And now I have my first eight cards ready for next Christmas! 

Thanks for stopping by!


Tuesday, January 9, 2024

2024 calendars: back to basics

Drum roll please ... here are the final two designs of my 2024 desk calendars. (If you missed the previous posts, I also made calendars with gel print backgrounds and in a collage style with scrapbooking products.) For these two designs I kind of went back to basics.

For the first design I cut sheets of white card stock into quarter sheets (4-1/4" x 5-1/2") and used various stamp sets to create the backgrounds. I splattered the backgrounds with metallic watercolor paint and matted each calendar page on coordinating card stock. I made two calendars in this design (they were basically identical, so I only took pictures of one), and they probably took me the longest -- I have a lot of stamps to choose from!


This final calendar was, in fact, the last calendar I made. I think it was Dec. 23, so I needed something quick and I was out of ideas. Finally I decided to pull out some 3" x 4" cards from a pocket scrapbooking kit. I chose a different patterned card for each month and six colors of coordinating card stock. I matted each card with card stock (using each color for two months), adhered the calendar in the middle of each page and then finished with a different embellishment.


I do like how this calendar turned out, but I still feel like it's too simple. Oh, well. I'll try to plan better for my holiday projects this year so I don't get so crunched for time.

And speaking of holiday projects, I do have my January Christmas cards done! I'll share those in my next post. Thanks for stopping by!


Saturday, January 6, 2024

2024 calendars: scrapbook collage

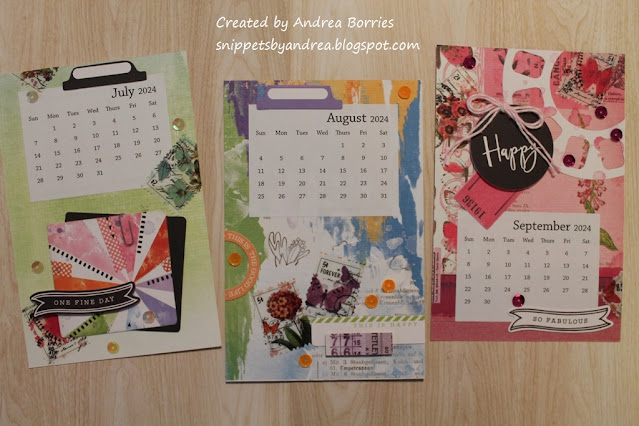
As promised I'm back with two more 2024 desk calendars to share. The calendars I shared in my last post, made with gel print backgrounds, were clean and simple designs. For the collage-style calendars I'm sharing today, I used products from two 49 and Market scrapbooking collections: Nature Study (which coordinates with the card set I made a few months ago) and Spectrum Gardenia.

For the Nature Study calendar, I used the patterned card stock in the 6" x 8" Collection Pack for the bases. I cut six sheets in half to make twelve 4" x 6" pages. To embellish the pages, I used the General Laser Cut Elements. I also happened to have some washi tape with vintage postage-style images that happened to coordinate pretty well, so I added a couple of those "stamps" on each page. The final touch was colored enamel dots.


From the soft style and muted colors of Nature Study, we switch to bright hues and bold images in the Spectrum Gardenia collection. (And I love both styles equally.) I cut the 4" x 6" base pages from the card stock in the 12" x 12" Classics Collection Pack and then used the Ephemera Bits and Postage Washi Roll for accents. I embellished the pages with -- surprise! -- sequins.


And that's two more calendars down! I'll have one more post with my last two designs, and then we'll move on to other projects. If you have any questions about the calendars, just leave a comment. Thanks for stopping by!


Thursday, January 4, 2024

2024 calendars: gel prints and quotes

Happy new year! I'm on my last few days of before I head back to school, and I've been busy in the craft room. I'm been focused on finishing up a bunch of card kits that have been hanging around (I used one for my January Christmas cards!), and yesterday I spent the day making gel press prints. But before I get too far ahead of myself, I still need to share the 2024 calendars I made as Christmas gifts.

I made eight different desk calendars for 2024, but I had six different designs, so I'm going to split them into multiple posts. Today I'm going to share the calendars I made using gel press prints and various quotes.

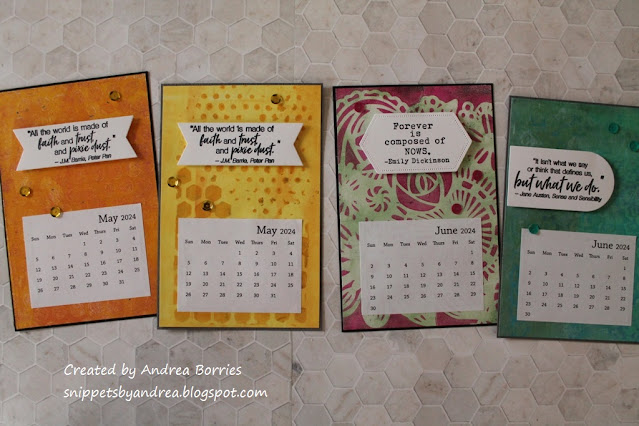
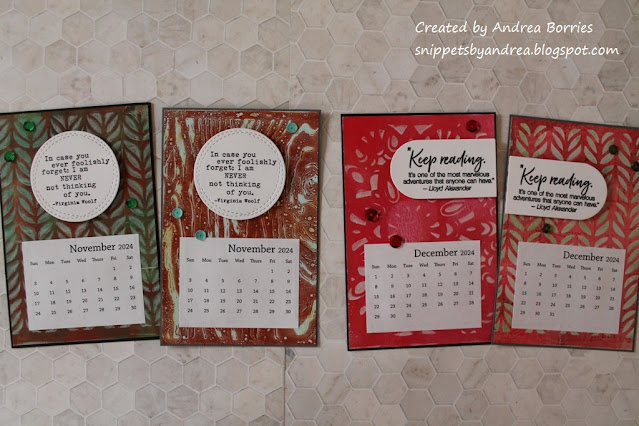
The first two calendars feature quotes from authors. I used the same basic layouts and quotes, but I switched the order of some of the quotes so I decided to include both versions in the pictures. Each photo has four calendar pages, two per month (e.g., January A, January B, February A, and February B). The die-cut quotes are attached with foam tape, and each page is embellished with three coordinating sequins.


For the third gel print calendar, I used quotes from the TV show "Friends." My sister and I love "Friends," and we often quote lines from the show to each other. So this seemed like a perfect theme for her calendar. (The downside is that the font is very small, so you might not be able to read all of the quotes in the photos.) I decided to stamp these images/quotes directly on the gel prints and then emboss them. Again, I finished each page with three coordinating sequins.


I know I didn't provide too many details (trying to keep this post from getting even longer), so if you have any questions, just leave a comment below.

Stay tuned for two more calendars in my next post. Thanks for stopping by!