Friday, September 29, 2023

Sunflowers and leaves

It's back to autumn cards for me. And, as you may have guessed from the title of this post, today's cards feature sunflowers and leaves. The main products I used for these cards are from Gina K Designs.


I think the two-step sunflowers in the Breath of Sunshine stamp set are pretty cute, and I also love the bushel basket image. I started by stamping and die cutting a bunch of sunflowers. I divided the flowers into two groups and arranged each bunch with a basket and a few leaves to create two cards. (My favorite detail on each card is the flower that has fallen out of the basket.) I made the card on the right first, and with the mustard card base and dark brown frame it has a definite fall-ish feel. For the second card, I used a light-blue card base and a green die-cut hill, so it also would be a great summer card. (Although I think I should have added some stenciled clouds or something in the sky to add some interest.)


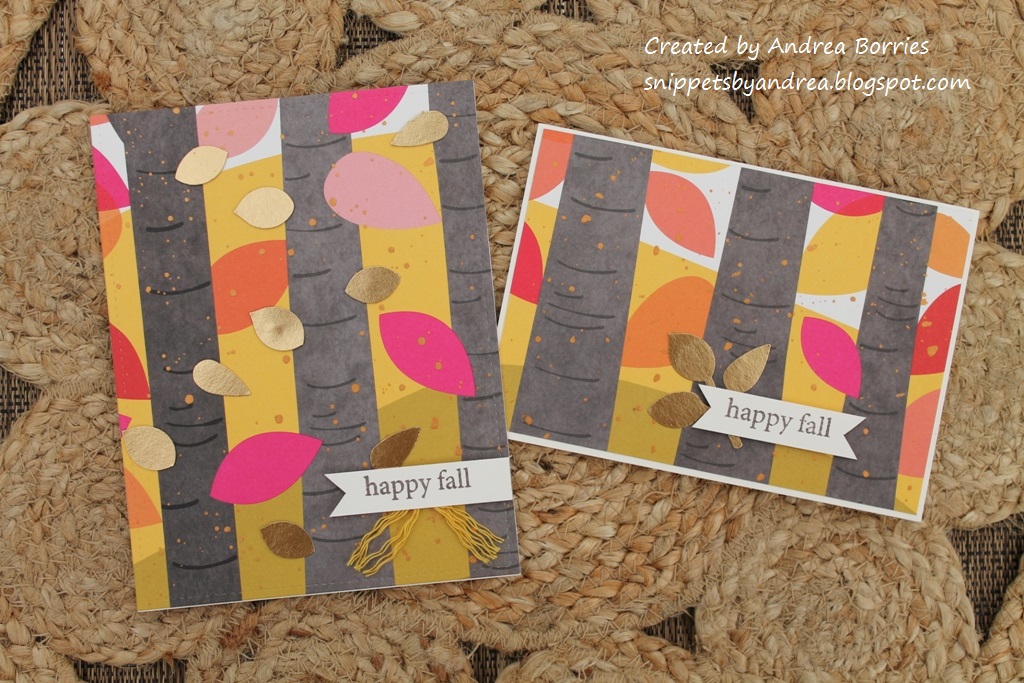
For the second pair of cards I used the detail dies from the Autumn Leaves die set. I wanted to try some non-traditional colors for the leaves but make sure it still had an autumn feel. I decided to go with Fresh Fig, Island Indigo, and Really Rust (Stampin' Up!), and I think they work well.


I knew these would be simple cards, so before I glued down the die-cut leaves I splattered the card bases with metallic gold watercolor paint. I die cut two "hello" sentiments from gold card stock and added one to each card. I opted to skip any other embellishments, so these will be nice and easy cards to mail - always a plus!

Thanks for stopping by!

Tuesday, September 26, 2023

Baby bookcase

Today I have a little break from autumn cards -- a cute (in my opinion!) baby card. I don't have the opportunity to make too many baby cards, so I was excited to create one for a coworker's baby shower last week. 


I used the retired Bookcase Builder stamp set from Stampin' Up!, and I love choosing which images to include and how to arrange them on the shelves. For my colors, I used Toffee (Taylored Expressions) as the main neutral and added in pink, yellow, green, and blue -- pretty traditional baby colors, but I chose darker, more saturated shades than the usual pastels.

I wasn't sure if I wanted to add a sentiment to the front of the card, but I found a tiny "congratulations," and I thought it fit perfectly tucked under the bottom shelf. I added a die-cut scalloped frame around the stamped images, and I layered the frame; I die cut a white frame and a Toffee frame and glued them together to create just a bit of dimension. The finishing touch was a few clear droplets.

Thanks for stopping by!

Thursday, September 21, 2023

Seasonal Snapshot cards

For my second batch of autumn cards, I decided to use something I've had in my stash for awhile: the Seasonal Snapshot 2015 Project Life Accessory Pack. I used some of the items from the pack to create a scrapbook page years ago, but it's been tucked away since then. Time to see what else I could create!


I started by deciding on a basic layout. I used three die-cut squares -- two patterned and one with an image -- for each card. I matted the image card with gold, silver, or black card stock. That card stock and the card bases are the only items on these cards that weren't part of the accessory kit (and the stamps, ink, and adhesive, of course).


These cards would be really easy to reproduce with squares cut from various patterned papers, small stamped or die-cut focal images, and any embellishments. A great way to use up scraps of patterned paper!


I also made two Christmas cards with the Seasonal Snapshot accessory kit. I know they're simple cards, but I really like how they turned out. That brings my total of Christmas cards up to 100 (some are left over from last year). Yippee!


Inside the cards I added white panels stamped with sentiments. I also used a few elements from the kit to make them a little more festive.

I still have several elements left in the accessory kit, particularly some laser-cut wood pieces that I haven’t decided how to use yet. More projects for another day. Thanks for stopping by!


Saturday, September 16, 2023

Fall is in the air

I think (or at least I hope) we're finally past all the hot weather, and I love having a little chill in the air in the morning. Autumn is my favorite season, so I decided it was time to start making some fall-themed cards.


For these two cards I kept it pretty simple. I started with two panels of leaf-patterned card stock (upcycled from an old calendar page) and layered both of them on gold card stock. I adhered each panel to a coordinating card base and then added a sentiment/focal image and a few gold sequins.


The patterned card stock on the next two cards was also an old calendar page. I splattered both panels with some metallic watercolor paint and then added gold leaves. (I used a punch to create the leaves. The card on the right uses the entire sprig of leaves; for the card on the left I trimmed the leaves apart.) As with the previous cards, I added sentiments on strips of card stock with the ends cut into a V. Two more easy cards done!


For the last two cards, I started from scratch. I used kraft card bases and stamped the backgrounds -- one with a background image and one by repeatedly stamping the "happy fall" sentiment. I cut a large scalloped circle in half, embossed the pieces with a wood plank embossing folder, and adhered each piece to the left side of the card front. For the focal images I created a cluster of leaves and added a twine bow. I wanted to add metallic accents, so on one of the cards I splattered some metallic paint on the scalloped half-circle and painted a border around the edges of the card base. I decided I wasn't crazy about how the paint looked, so I skipped it on the second card. The finishing touch on both cards was metallic sequins.

Thanks for stopping by!


Sunday, September 10, 2023

Nature Study card kit

I'm back! The last couple of weeks have been a little crazy. I finished my summer job at the end of August and was looking forward to doing some crafting over the long holiday weekend. Instead I came down with COVID. It was short-lived and seemed less severe than the first time I had it, but it drained my energy; I spent most of my weekend lying in bed watching true-crime shows. Then school started last week and I was back to my regular job. Whew!

I was finally able to do a little card making this weekend, and my first task was to finish putting together the Nature Study card kit from 49 and Market.


I fell in love with this card kit as soon as I saw it. It's part of 49 and Market's Vintage Artistry line, and I ended up purchasing the kit as well as coordinating patterned card stock and a pack of laser-cut elements. The kit comes with eight printed card bases and envelopes, two sheets of rub-on transfers (one sheet of sentiments and one sheet of images), and eight sticker seals.


I used all of the rub-on images while making these cards (I added one image inside each card), but I still have several rub-on sentiments left over to use on other cards. I also used some of the laser-cut card stock elements that I purchased separately; I attached the elements with foam tape to add dimension to the cards. I finished them off with sequins from my stash.

I'm trying to get back on track with my blog posting, so hopefully I'll be back later this week with more cards to share. Until then, thanks for stopping by!