Stamps: Picture Perfect Birthday
Paper: Whisper White, textured Bermuda Bay card stock
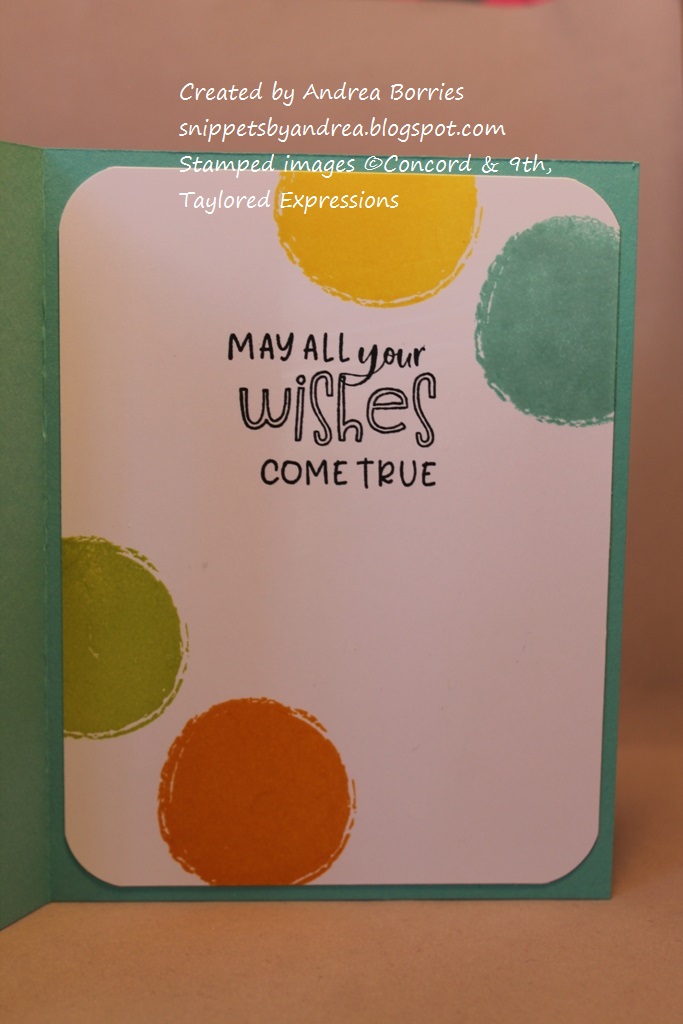
Ink: Daffodil Delight, Crushed Curry, Coastal Cabana, Bermuda Bay, Lemon Lime Twist, Granny Apple Green, Memento Tuxedo Black
Accessories: Corner Chomper (We R Memory Keepers), White Perfect Accents
I will admit that when I first got this stamp set, I didn't think I would use the bow image. It just didn't appeal to me for some reason. But I decided to try it on this card ... and I loved it! The bow is actually made with two separate stamps: the main image of the actual bow (the lighter color) and then a separate image to fill in all the shadows (the darker color). It looks so realistic, and since this is a photopolymer stamp set, it's pretty easy to line up the stamps.
I kept this card very clean and simple with the three bows, a sentiment, and three white enamel dots. To add a little more visual interest I rounded two opposite corners of the white panel before adhering it to a Bermuda Bay card base.

Stamps: Picture Perfect Birthday
Paper: Thick Whisper White card stock
Ink: Pineapple Punch, Daffodil Delight, Lemon Lime Twist, Granny Apple Green, Pool Party, Bermuda Bay, Flirty Flamingo, Lovely Lipstick
Accessories: Sparkling clear sequins (Pretty Pink Posh), foam tape (3M)
Once I had tried stamping a few bows, I decided to make a card with all the bows! For this (almost) one-layer card, I stamped the bows in a rough grid pattern, making sure that no two bows right next to each other were the same color. I also turned the stamp a little for each bow so they don't have the same alignment.
Once all the bows were done, I stamped "celebrate" on a strip of white card stock and trimmed the left end of the strip into points. I used foam tape to adhere the banner to the card front and then added three sequins for a simple embellishment.

Stamps: Picture Perfect Birthday
Paper: Poppy Parade, Whisper White, Basic Black card stock
Ink: Daffodil Delight, Crushed Curry, Coastal Cabana, Bermuda Bay, Lemon Lime Twist, Granny Apple Green, Poppy Parade, Memento Tuxedo Black
Accessories: Iridescent shreds (unknown), sparkling clear sequins (Pretty Pink Posh), foam tape (3M)
The party blower is another fun image in this stamp set. Again, it is a multi-stamp image, so it's easy to make the blowers whatever colors you want. I chose a bright, gender-neutral color scheme with red, yellow, green, and blue (although I was aiming toward making this a guy-friendly card).
I used the sentiment "cue the confetti," so I stamped confetti on the Poppy Parade card base from the upper left corner to the lower right. It's a little hard to see behind all the sparkly shreds, but it adds subtle texture and interest to the background. I also added several small sequins on the focal panel, scattering them to look like falling confetti.
To bring everything together, I applied foam tape on the back of the focal panel, stuck some of the sparkly shreds on the tape, and then adhered the panel to the card base.
Thanks for stopping by!